Authored by artist Marian Haf
Outline
- Overview
- Session 1: Making cyanotypes
- Session 2: Making the accordion book
- Reflection and Discussion
- Expected outcome
Duration
Years 5–6 (Ages 9–11)
- Session 1: Cyanotype Printing (90–120 minutes)
- Session 2: Accordion Book Construction (60–90 minutes)
1. Overview
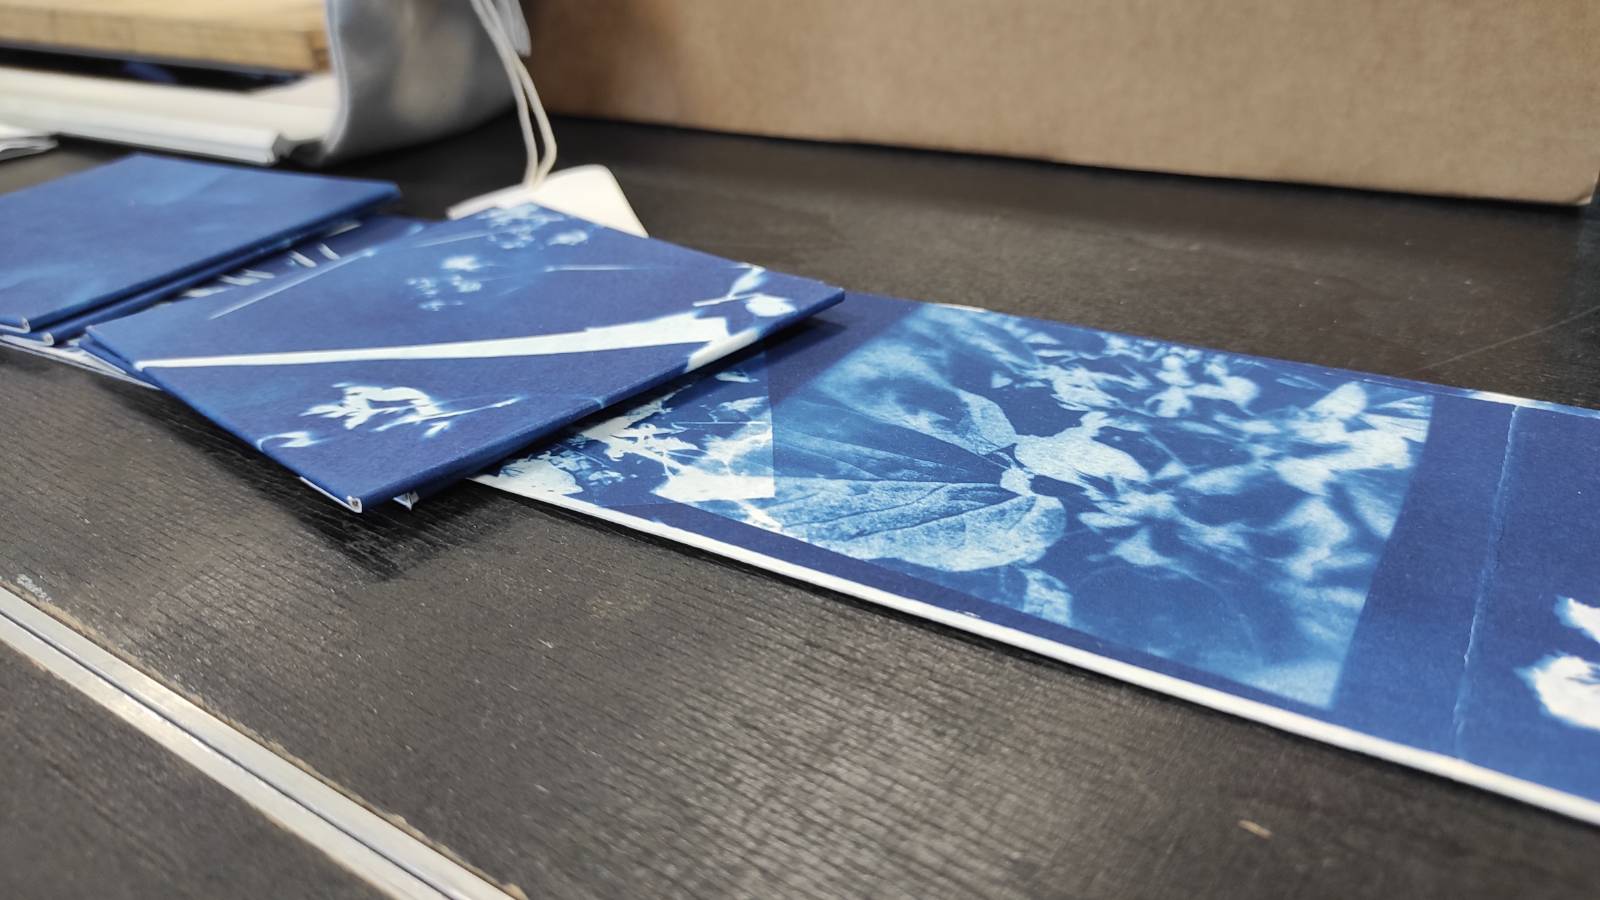
Pupils will explore the historic photographic process of cyanotype printing using natural materials collected from their local environment. They will then transform their cyanotype prints into a handmade seven-page accordion book.
History of cyanotype
The cyanotype process was invented in 1842 by Sir John Herschel. It is one of the earliest photographic printing techniques and produces distinctive white images on a deep blue background.
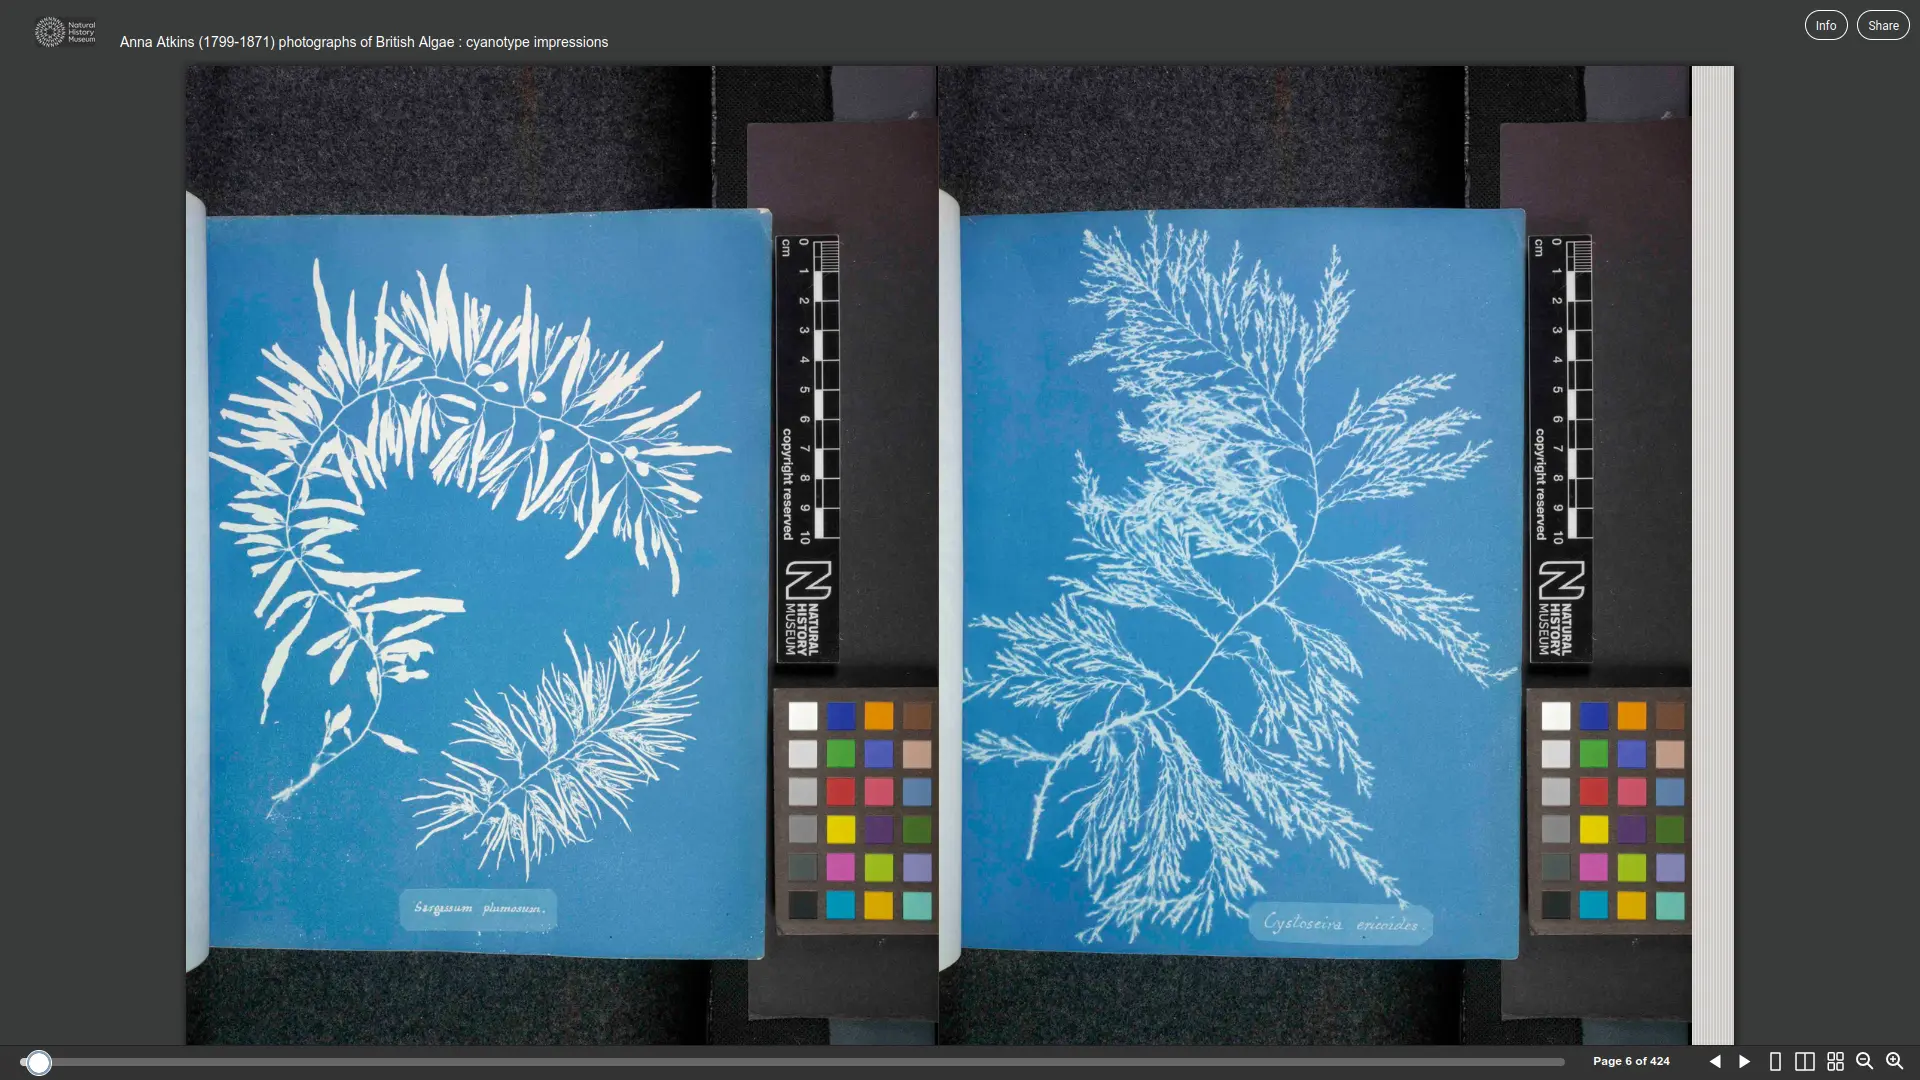
One of the first people to use cyanotypes creatively was Anna Atkins, a British botanist and photographer. In 1843 she published a book of cyanotype images of seaweed specimens. Her work is often considered the first book illustrated with photographs. Atkins carefully arranged plants directly onto sensitised paper, creating detailed silhouettes that recorded the shapes of botanical specimens. Her work continues to inspire artists and scientists today.
The Cyanotypes of Anna Atkins, Pioneering Botanist & Photographer
Photographs of British Algae : cyanotype impressions
Anna Atkins (1799-1871)
Visualising Britain’s fast fashion waste problem with cyanotype photography
Learning objectives
Pupils will:
- Understand the basic science of light-sensitive photographic processes.
- Learn about the historical significance of cyanotypes.
- Explore the work of Anna Atkins.
- Create cyanotype prints using natural materials and photographic negatives.
- Develop observational, compositional and bookmaking skills.
- Produce a finished seven-page accordion book.
Curriculum links
- Art and Design
- Science (Light and Chemical Reactions)
- Literacy (Visual Storytelling)
- Outdoor Learning
- History of Photography
Materials
- Cyanotype Chemicals
- Solution A: Ferric Ammonium Citrate
- Solution B: Potassium Ferricyanide
- Printing Materials
- Watercolour paper (200gsm or heavier)
- Foam brushes
- Measuring jugs
- Disposable gloves
- Drying rack
- Image-Making Materials
- Ferns
- Leaves
- Flowers
- Feathers
- Seed heads
- Grasses
- Transparency negatives
- Glass or acrylic sheets
- Bulldog clips
- Bookmaking Materials
- Finished cyanotype print
- Pencil
- Ruler
- Bone folder
- Scissors
- Card for covers
- Glue
Health and safety
- Wear gloves when handling chemicals.
- Adult supervision is required during chemical preparation.
- Do not ingest chemicals.
- Wash hands thoroughly after use.
- Use scissors and cutting tools safely.
2. Session 1: Making cyanotypes
Introduction (15 minutes)
Show examples of cyanotypes and discuss:
- What is photography?
- How can sunlight create an image?
- Who was Anna Atkins?
- Why do plants work particularly well in cyanotypes?
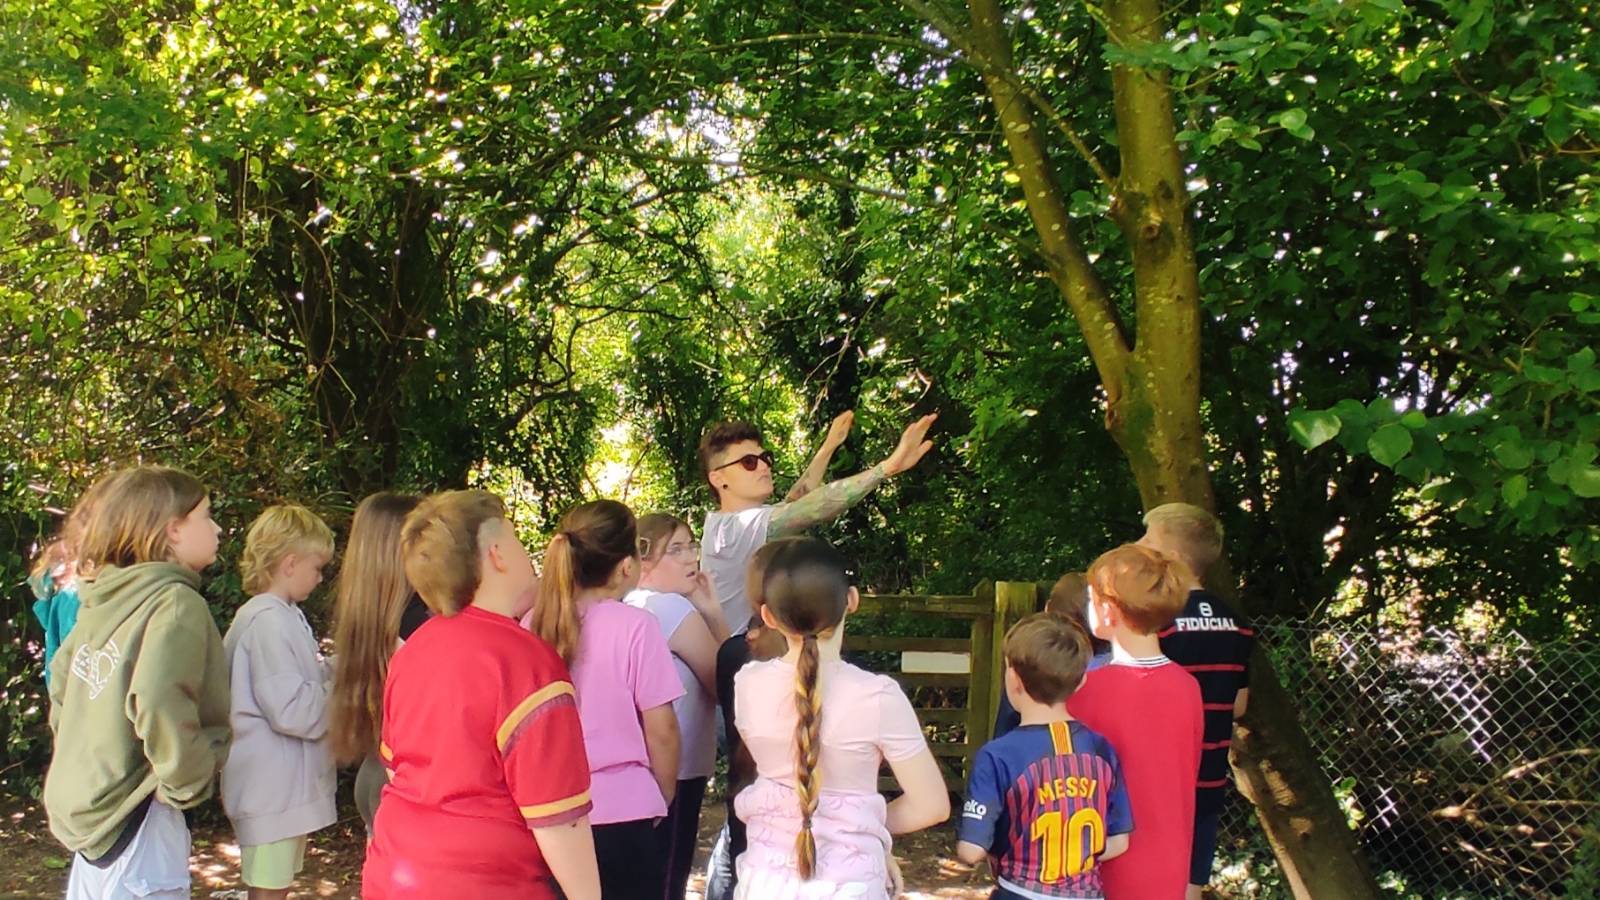
Outdoor Collection Activity (20 minutes)
Pupils gather natural materials from the school grounds, such as:
- Ferns
- Leaves
- Wildflowers
- Grasses
- Feathers
Encourage discussion about
- Shape
- Texture
- Transparency
- Pattern
Preparing the Cyanotype Solution
Teacher preparation recommended.
Solution A
- 25g Ferric Ammonium Citrate
- 100ml Water
Solution B
- 10g Potassium Ferricyanide
- 100ml Water
To make the sensitiser
Mix equal parts Solution A and Solution B immediately before use.
Coating the Paper (15 minutes)
- Place paper on a protected surface.
- Apply the sensitiser evenly using a foam brush.
- Cover the desired image area.
- Leave to dry in a dark place for approximately 20–30 minutes.
Creating the Composition (20 minutes)
- Arrange collected materials on the coated paper.
- Alternatively use a transparency negative.
- Place glass or acrylic over the arrangement.
- Secure with clips.
Exposure (5–20 minutes). Place in direct sunlight.
The coated paper changes colour from yellow-green to bronze-grey as exposure occurs.
Approximate exposure times
- Bright sunshine: 5–10 minutes
- Overcast conditions: 15–25 minutes
Washing and Revealing (10 minutes)
- Remove objects.
- Rinse under cool running water for 3–5 minutes.
- Observe the blue image emerging.
- Leave to dry completely.
3. Session 2: Making the accordion book
Preparing the Print
- Select the strongest cyanotype print.
- Trim to: 70cm × 10cm This creates:
- Seven panels
- Each measuring 10cm × 10cm
Folding the Accordion
- Measure and mark every 10cm.
- Fold the first section forwards.
- Fold the next section backwards.
- Continue alternating folds across the strip.
Adding Covers
- Cut two pieces of card: 11cm × 11cm
- Cover each piece of cover card with a cyanotype using PVA glue and weight to help the card dry flat
- Glue one cover to the front page and one cover to the back page along with a 60cm strip of ribbon to tie the book closed.
4. Reflection and Discussion
Questions
- Which plant created the most successful image?
- How did sunlight affect the print?
- What did you learn from Anna Atkins’ work?
- How does your accordion book tell a visual story?
5. Expected outcome
Each pupil will produce:
- One or more cyanotype prints.
- A handmade seven-page accordion book measuring 10cm × 10cm.
- A visual record inspired by local natural materials and the work of Anna Atkins.

Ysgol Llanilar — Bat workshop